
An update
Zchunk metadata in Fedora
It’s been four months since my last post, so an update is long overdue. First things first, after a couple of last-minute near disasters, Fedora 30 was released with zchunked metadata. We’ve had a few bugs show up, but, at this point, I think they’re all fixed.
Fedora 30’s release has sparked some interest in zchunk, and a new contributor has started working on a native java port. I’m hoping to get some time soon to clean up the documentation and add some more features.
My life
For those who aren’t aware, after over fifteen years in Beirut, last July we moved to my wife’s hometown of Skibbereen in Ireland, and next week will mark our first year here. It’s been an interesting year with a lot of ups and downs.
The first four months were spent job-hunting, and it was an interesting experience that I’d be quite happy to never have to repeat. I naively assumed that, with my background, finding work would be a quick process, and that definitely wasn’t the case. It was less that I couldn’t find work and more that the whole hiring process took much longer than I expected.
Apparently coding experience doesn’t translate into interview experience, as I found out when I did my first. In the stress of the moment, I completely bombed one of the low-level skill questions, painting myself, I’m sure, as a first-class idiot. The interviewer was very gracious, but the interview ended shortly afterwards and I got my official rejection a few minutes later. It was only afterwards that I realized that, at age 37, this had been the very first interview I had ever done in my life.
I applied for positions in companies around Ireland, and one thing I found interesting is that a majority of the interviews I got were as a result of connections I’d made, mostly through Fedora. In the tech world, as much as any other field, it seems that our ability to build and foster relationships is still essential to our professional growth. It’s not a substitute for competence, but skill can’t replace it either.
One thing that paints a compelling picture of a company is how it handles rejections. Most companies did well enough, having the courtesy to send out an email when they had decided against me. A number ghosted me, which still puts a sour taste in the mouth when thinking about them. And then there was Red Hat. Now, to be fair, my interviews at Red Hat were different anyway, but a Red Hat rep personally called me and let me know that they were passing on me because they’d found a more qualified applicant. While I was obviously disappointed, I felt that this set a really high bar for other companies.
In November, I got hired on by a local automated phone number testing company called Spearline. They test phone call quality using in-country servers around the world, and I quickly settled in, getting the opportunity to move their web applications over to a micro-services architecture. The company gave me a lot of responsibility, was a great place to work, and I built a lot of good friendships there.
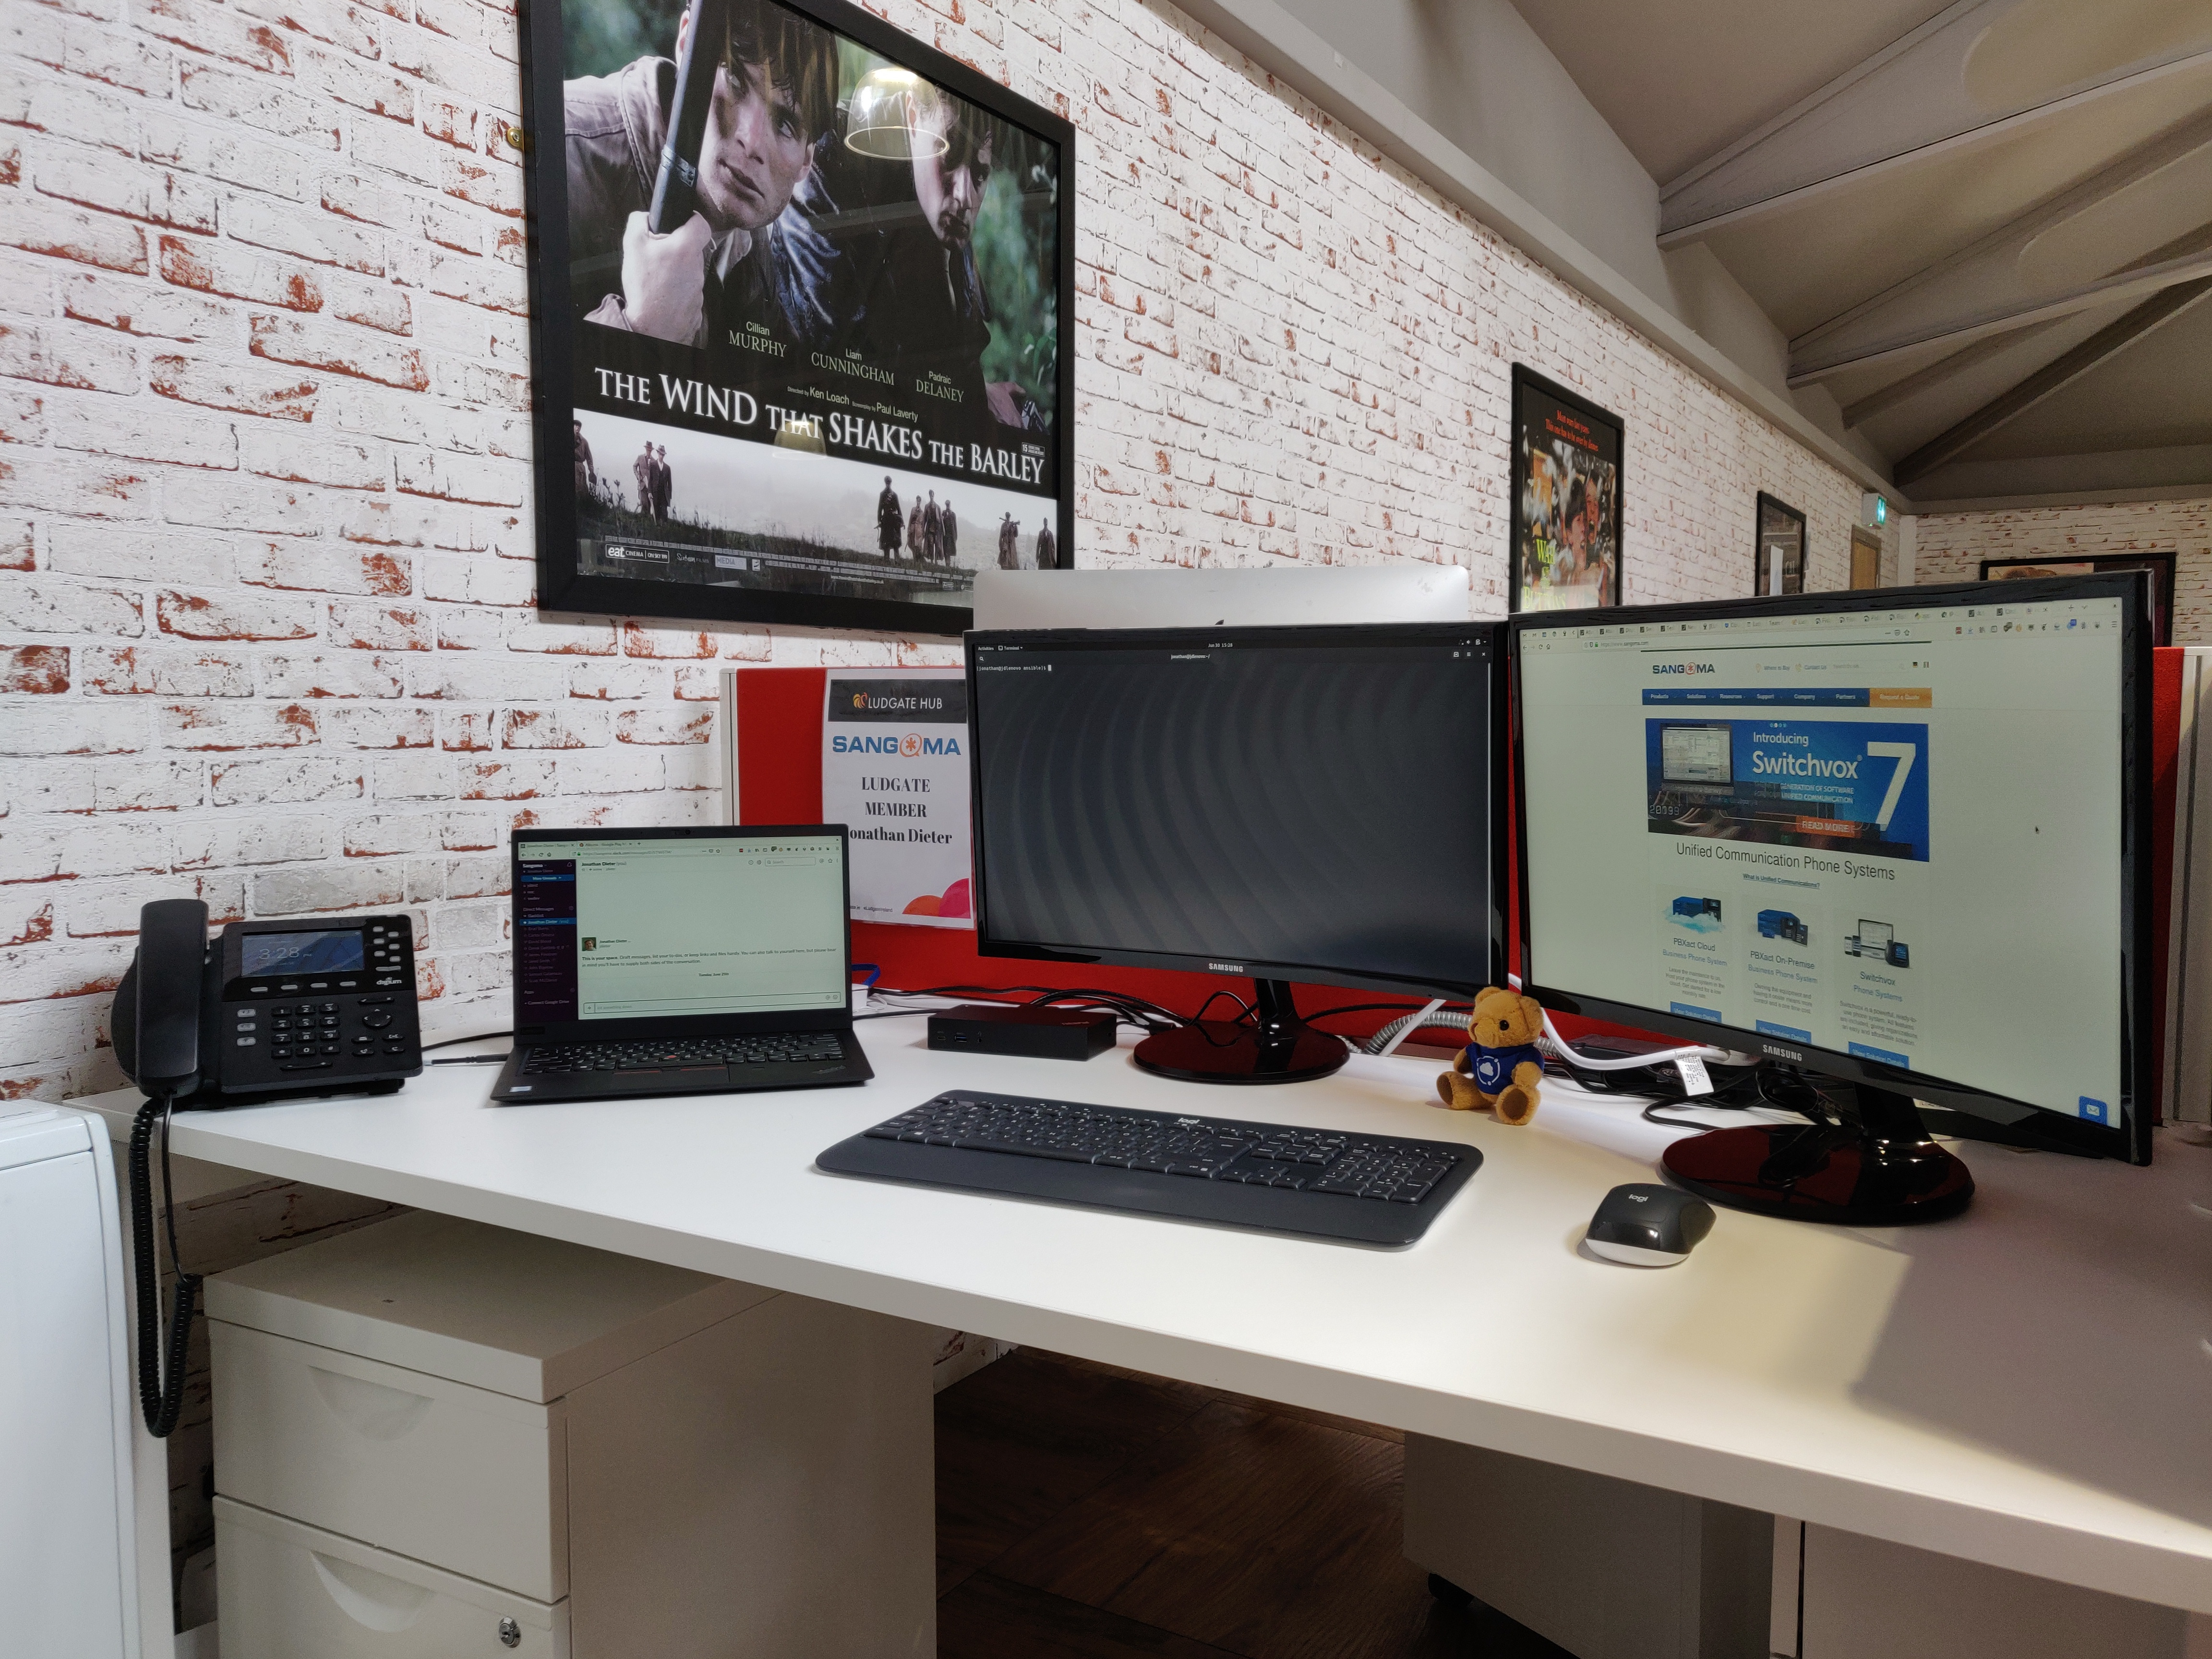
This brings me to a few months ago, when I got a call from Sangoma, a VOIP hardware and software company. I had interviewed with Sangoma back in August, and it had gone really well, but they then acquired Digium, the maker of Asterisk, and put a hiring freeze into place. The call was to tell me that the hiring freeze was over and they wanted to interview me again. One thing led to another, and, in May, I joined Sangoma as a software engineer on their cloud development team. I’m working from the Ludgate Hub, a local co-working space, and I’m thoroughly enjoying the job.
Last week, I passed my Irish driving test, which was the last major item on the “Moving to Ireland” to do list (for context, last year, less than half of the people who took their driving test passed). The process is far more convoluted and stressful than it should be for someone who already has two driving licenses, but it’s finished.
It’s been an interesting year, but, in the end, a really good one. While we miss Lebanon, we are truly blessed to be able to start building a new life here in Ireland.
Dun Laoghaire Lighthouse by Kevin Williams, used under a CC BY-SA 2.0 license.
